Arc Raiders Enemy Types Guide: Complete List of ARC Enemies and Weakness Strategies
Introduction
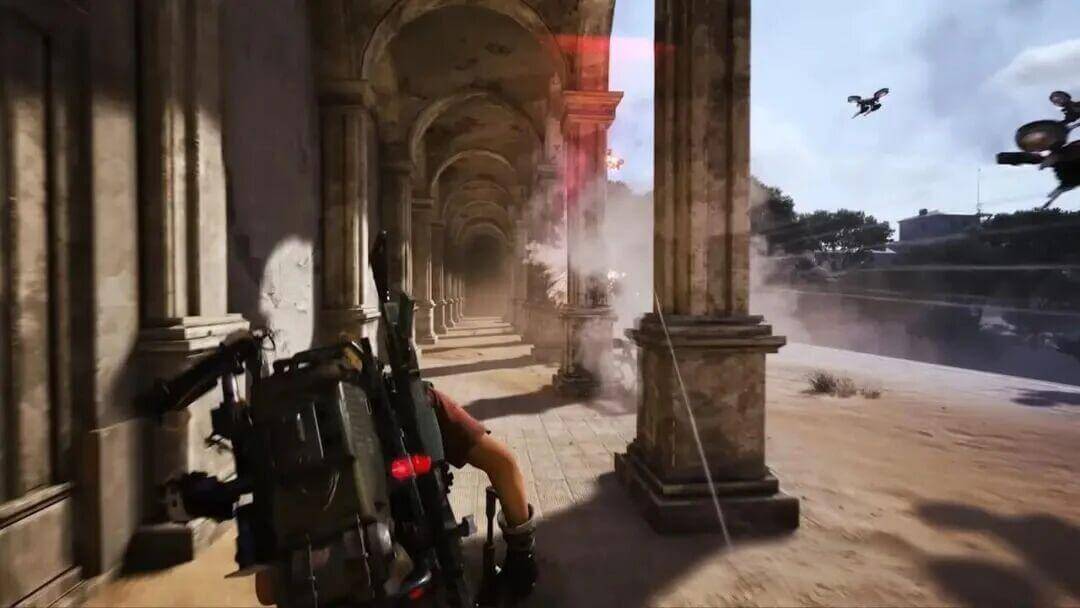
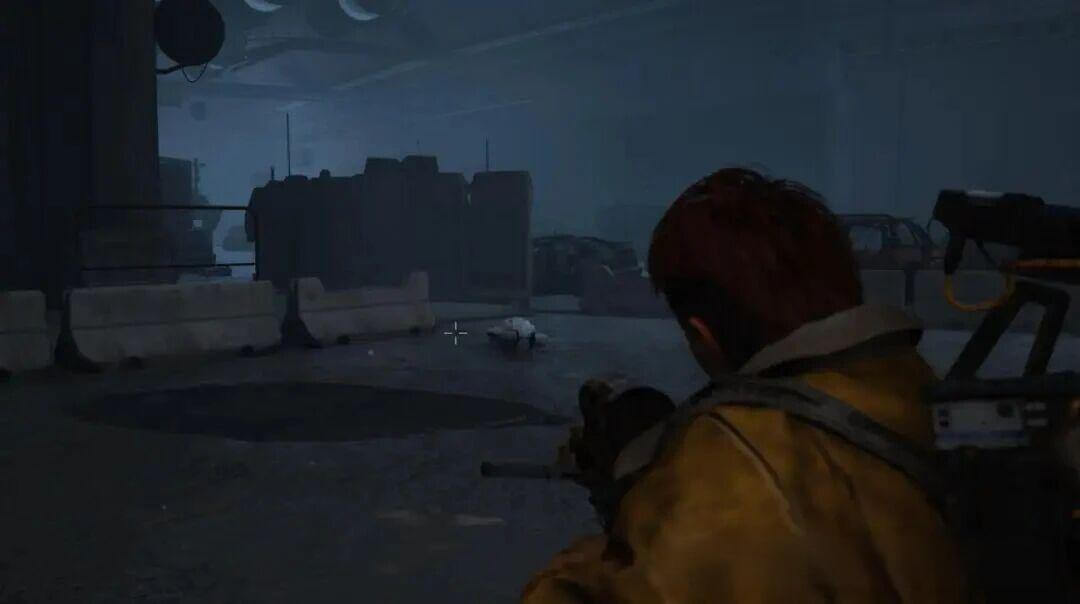
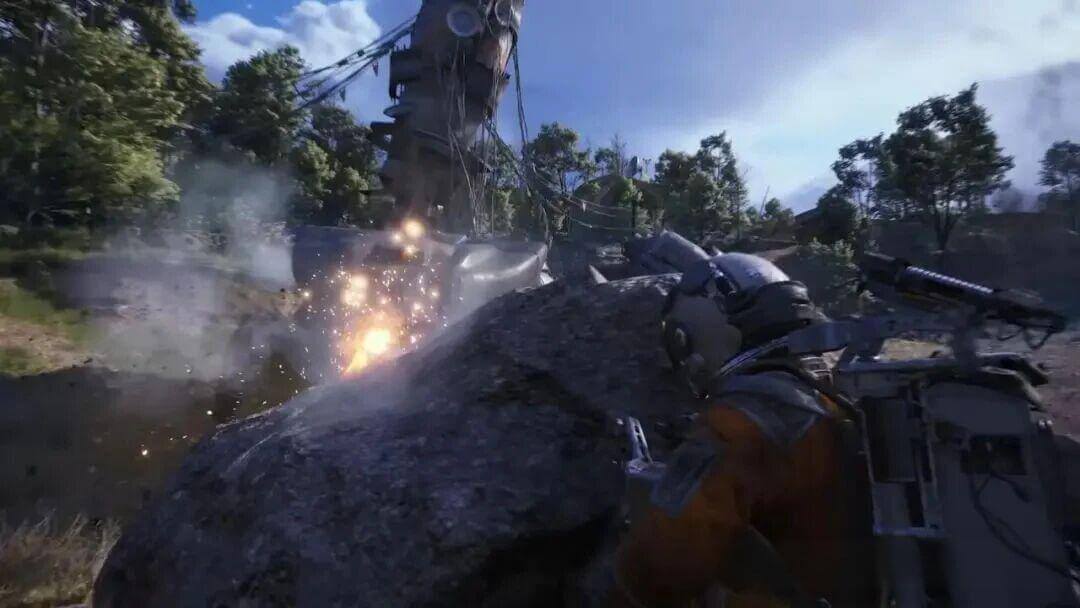
In Arc Raiders, the key to surviving the battlefield is understanding your enemies. While PvP might sound like the most dangerous aspect, the real challenge often comes from the mechanical enemies known as "ARC." These enemies, scattered across the map and armed with devastating firepower, can quickly wipe you out if you're not prepared. In this comprehensive guide, we'll cover all the ARC enemies you can encounter in Arc Raiders and provide efficient strategies to deal with them, from the basic grunts to the massive bosses.
Common ARC Enemies (Low Threat, Soloable)
These enemies appear frequently throughout the game. While still challenging, they pose much less danger compared to the larger and more powerful ARC enemies. With the right basic weaponry, you can easily handle them on your own.
Thrusters — "Wasp"
- Weakness: Four thrusters
- Strategy: As the most basic type of ARC enemy, the "Wasp" is the most common foe you'll encounter while exploring. It has a rapid rate of fire, and if locked onto you while out of cover, your health will deplete quickly—especially dangerous when in groups. However, shooting one of its four thrusters will cause it to spin out of control and crash, easily dispatched with almost any weapon.
Rear Thrusters — "Hornet"
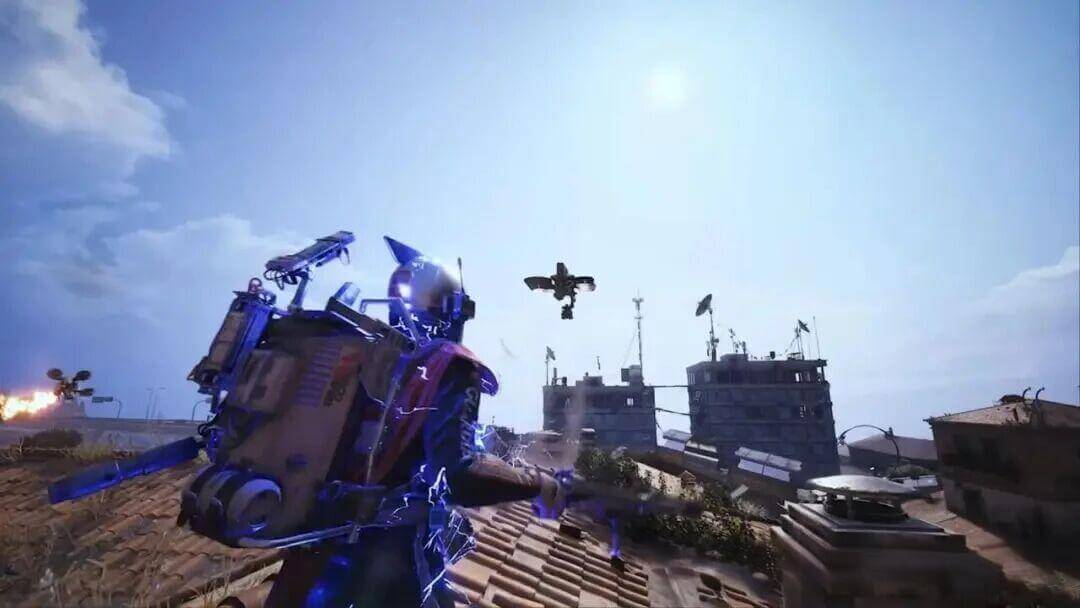
- Weakness: Two exposed rear thrusters
- Strategy: The "Hornet" can be considered an upgraded version of the Wasp. It fires electrical projectiles that not only deal damage but also disrupt your movement, leaving you vulnerable. The best strategy is to use cover, crouch, and target its two exposed rear thrusters (the front thrusters are well-protected). Once you take out the thrusters, it will be easy to finish it off.
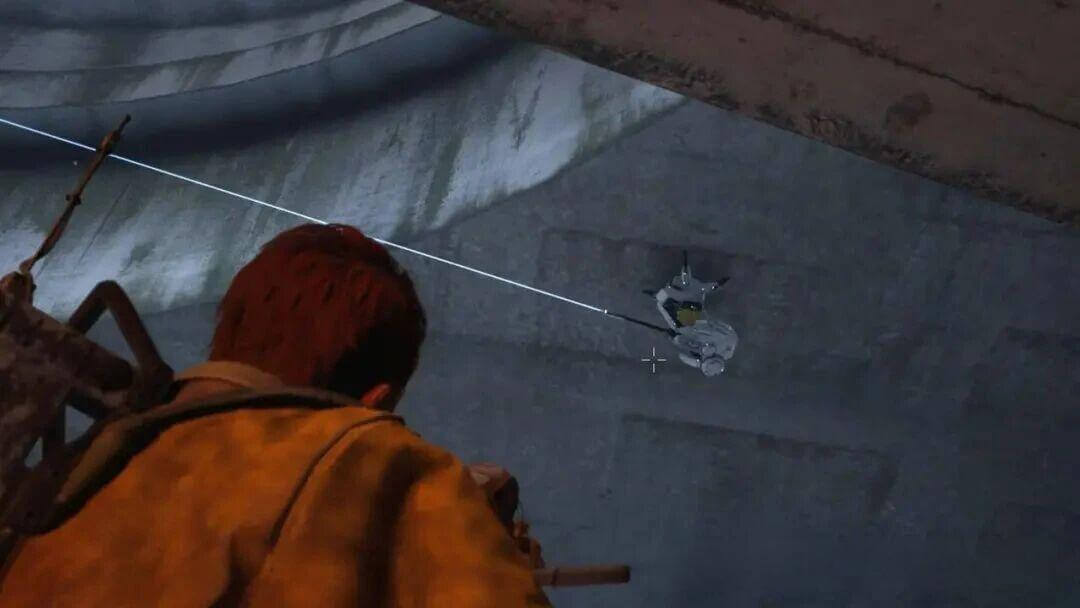
Underside Plating — "Snitch"
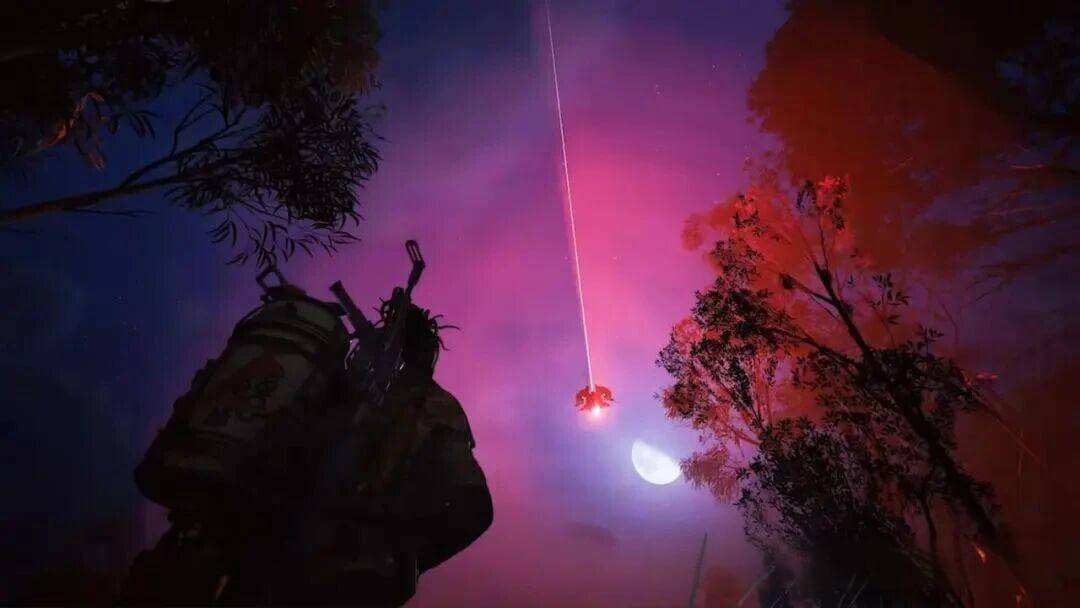
- Weakness: Underside plating (three panels)
- Strategy: This reconnaissance-style ARC doesn't attack directly but locks onto you with a laser once within its scan range. If you don't eliminate it quickly, it will call in reinforcements (two Wasps and one Hornet), turning the battle into chaos. The quickest way to take it out is by shooting its underside plating—usually, hitting two of the three panels will cause it to fall.
Core (when open) — "Fireball"
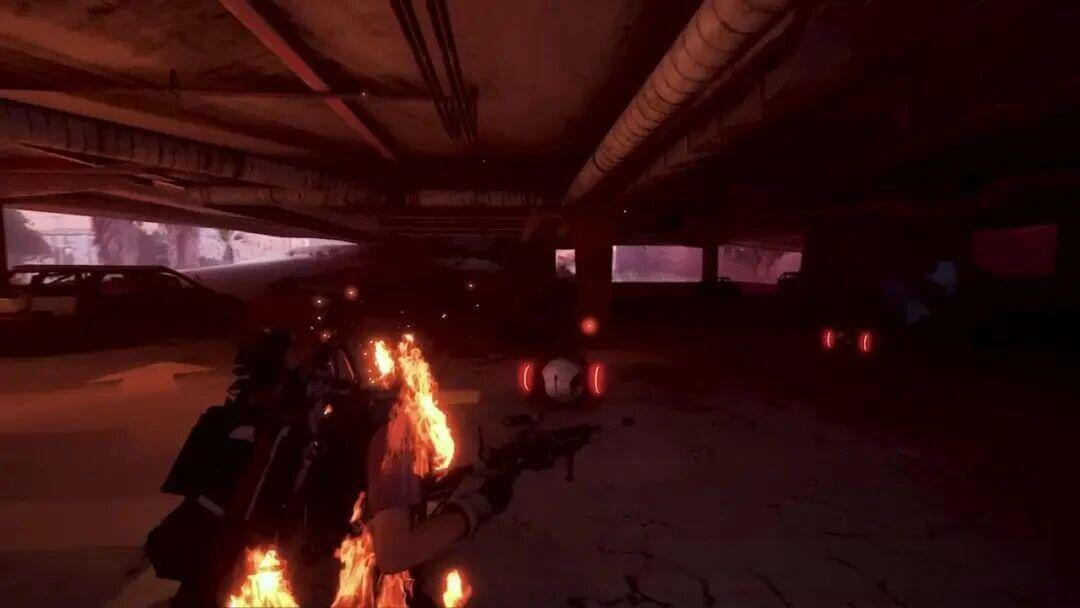
- Weakness: Exposed core
- Strategy: This ground-based ARC chases after players at high speed, spraying flames that can deal devastating damage. If you have heavy weapons, a few shots will take it down while it's moving. If you're using lighter weapons, wait for its core to be exposed before firing to save ammo. Firing blindly at its shell will waste bullets and won't penetrate.
N/A — "Pop"
- Weakness: Extremely low health
- Strategy: The "Pop" is another ground-based ARC that is incredibly fast and self-destructive. Once it reaches you, it explodes, causing massive damage to shields and health. These creatures often appear in groups, and multiple Pops can quickly send you back to the lobby. Fortunately, they're fragile—one or two shots from any weapon will deal with them, but timing and accuracy are crucial.
N/A — "Tick"
- Weakness: Melee attacks
- Strategy: A spider-like ARC, the "Tick" is agile and hides in rooms inside buildings. If not dealt with promptly, it will jump onto you and cause continuous damage until you shake it off. The best way to handle it is by using the melee weapon "Raider Tool," which guarantees a silent and efficient kill.
N/A — "Turret"

- Weakness: Blind spots, heavy ammunition
- Strategy: These turrets are scattered throughout indoor areas, scanning rooms with blue light and switching to red when they lock onto a target. Once detected, they unleash a barrage of bullets that will quickly deplete your shields and health. The recommended tactic is to flank or find a blind spot, then focus your fire on them. Heavy ammo works best, but any weapon can destroy them relatively quickly.
Yellow Canister — "Sentinel"
- Weakness: Yellow canister on back
- Strategy: The "Sentinel" is a long-range turret version of the regular turret, commonly found in open outdoor areas. It can snipe from a distance, easily destroying shields and armor with a single shot. Approach from behind and use heavy weaponry to deal with it quickly. If you're unable to get behind it, target the yellow canister on its back—any weapon hitting this weak spot will deal significant damage.
Large ARC Enemies ("Boss-Level" Enemies, Teamwork Recommended)
These giant enemies appear less frequently but are much more formidable, requiring a 2-3 player squad and heavy weapons like "Hullcracker" or launchers to deal with effectively.
General Tip:
Players with ample supplies can quickly deal with most large ARC enemies using grenades. The "Wolfpack Grenade" can take down all bosses except the "Queen" with 1-2 throws, and even "Snap Blast Grenades" can leave them near death. If you have the resources, this is a time-efficient strategy.
Face and Legs — "Leaper"
- Weakness: Legs and face
- Strategy: A true jumping specialist, the "Leaper" can leap great distances to land on players, unleashing shockwaves in close proximity. The best strategy is to retreat indoors to prevent surprise jumps, then focus your fire on its legs and face to slowly destroy its armor. In team combat, focus on attacking the same leg to reduce its mobility, then switch to its face once it stumbles.
Thrusters — "Rocketeer"
- Weakness: Thrusters and internal structure
- Strategy: The "Rocketeer" resembles a larger version of the "Hornet" but is much more dangerous. Once locked on, it will fire rockets at you, causing massive damage to shields and health, with explosions that splash over a wide area. To defeat it, first use heavy weapons or grenades to destroy its thruster armor, then focus on attacking the exposed internal metal structure. If there's still remaining health, a few heavy shots or launcher ammo will finish it off. A "Wolfpack Grenade" can also take it down—but make sure no smaller enemies are around, as it will release 12 tracking missiles that can lock onto up to three targets.
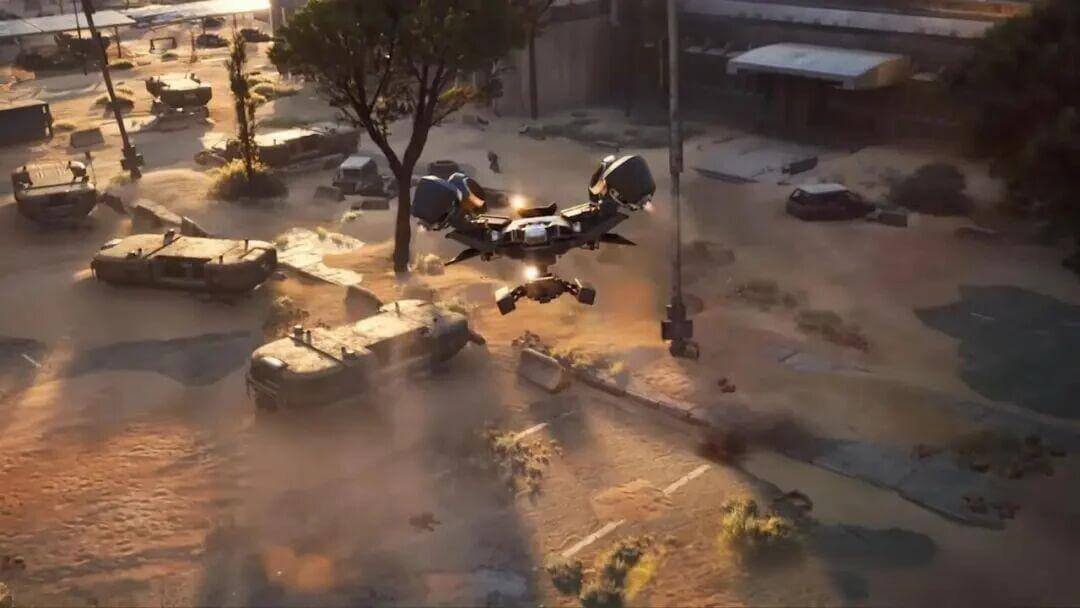
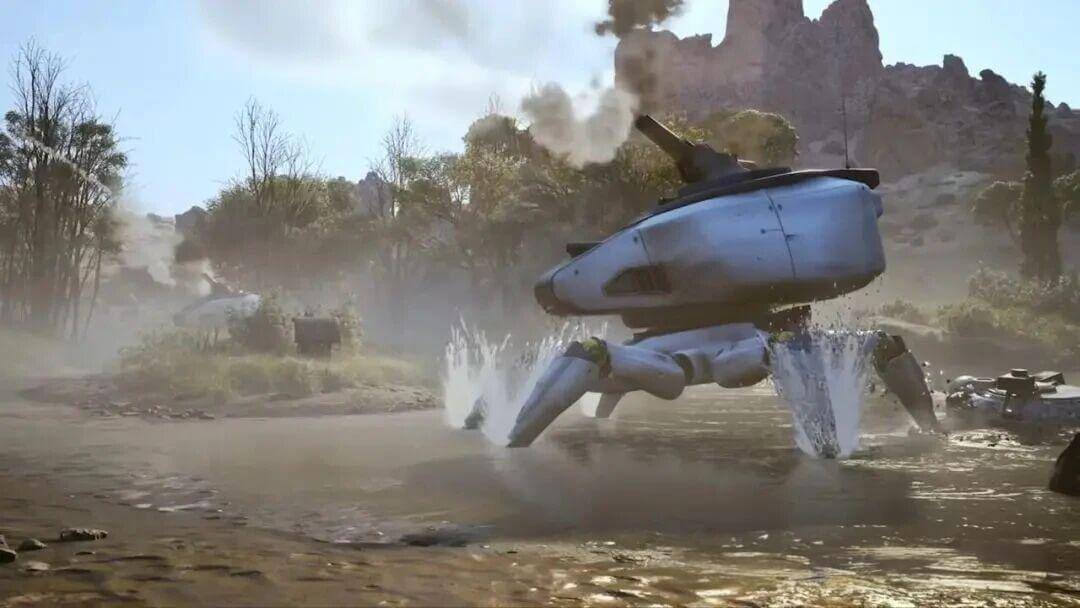
Legs and Yellow Canister on Back — "Bastion"
- Weakness: Leg joints and yellow canister on back
- Strategy: Resembling a giant crab, the "Bastion" roams open maps and, once alerted, unleashes a barrage of machine gun fire that will melt a player instantly. Always engage with cover nearby! Use large obstacles to "kite" it, or hide behind walls and wait for the opportunity to strike. Target its leg joints first—destroying one leg will cause it to temporarily fall, allowing the team to attack its back yellow canister. Keep attacking its weak spots, and eventually, it will collapse.
Legs and Yellow Canister on Back — "Bombardier"
- Weakness: Leg joints and yellow canister on back
- Strategy: The "Bombardier" looks like the "Bastion" but is more dangerous, with the ability to fire explosive mortar rounds that deal massive damage. You must stay behind cover or practice precise dodging. The threat level increases significantly if a "Snitch" (the "Bastion" variant) is present, as it will enhance the accuracy of the mortar fire. The defeat strategy is the same as with the "Bastion": shoot its leg joints to make it fall, then attack its back yellow canister.
Legs and Face — "Queen"
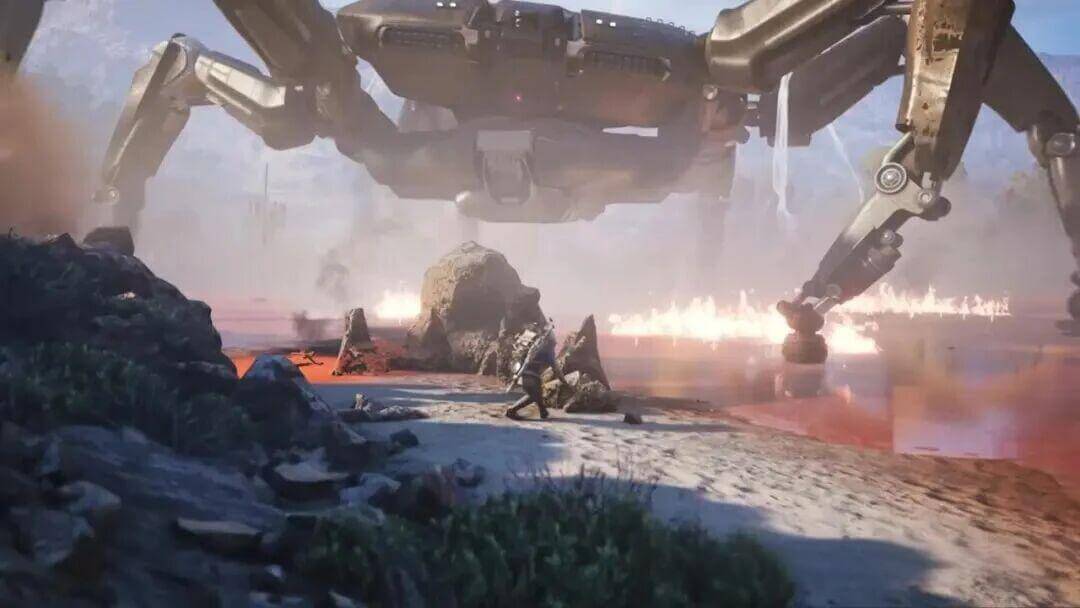
- Weakness: Legs and face armor
- Strategy: The largest and most powerful ARC in the game, the "Queen" is the ultimate boss. It can easily wipe out an entire squad and usually requires multiple three-player teams to tackle. Its attacks include powerful laser beams, mortar bombardments, shockwaves, and EMP pulses. It also constantly summons smaller ARC enemies during the battle. To defeat it, target its legs and face to strip away its armor, then focus fire on its internal structures. However, without heavy weapons or "Hullcracker," you'll struggle to make progress. Even with fully equipped teams, the battle can last a long time. The most effective tactic? Bring plenty of "Wolfpack Grenades" and bombard the Queen with as many as possible. Otherwise, even a small mistake can send your entire team back to base.
Conclusion
This guide ensures that players are equipped with the knowledge and strategies to deal with all ARC enemies, from basic threats to ultimate bosses. By focusing on efficient tactics and practical advice, it reflects deep game knowledge and offers a balanced approach to handling the challenges in Arc Raiders. This content is designed for both experienced players and newcomers, ensuring accessibility while maintaining a high level of expertise.